Welcome to the Honeywell 8000 Installation Manual, your guide to installing and configuring the VisionPRO 8000 thermostat․ Designed for installers and technicians, this manual provides step-by-step instructions, safety guidelines, and troubleshooting tips to ensure proper setup and operation of your HVAC system․
1․1 Overview of the Honeywell VisionPRO 8000 Thermostat
The Honeywell VisionPRO 8000 is a cutting-edge, Wi-Fi-enabled thermostat designed for precise temperature control in residential and commercial HVAC systems․ Featuring a sleek, backlit display, it offers an intuitive interface for easy programming and operation․ This smart thermostat supports scheduling, IAQ settings, and remote connectivity, making it a versatile solution for modern heating and cooling needs․
1․2 Importance of Proper Installation
Proper installation of the Honeywell VisionPRO 8000 is crucial for optimal performance and safety․ Incorrect wiring or setup can lead to system malfunctions, increased energy consumption, or even equipment damage․ Following the manual ensures compatibility with your HVAC system, guarantees warranty validity, and prevents potential hazards, emphasizing the need for a skilled technician to handle the installation process accurately and efficiently always․
System Requirements and Compatibility
The Honeywell VisionPRO 8000 is compatible with most HVAC systems, including forced air, heat pumps, and radiant heating․ Ensure your system meets voltage and wiring requirements․ Wi-Fi network connectivity is necessary for remote operation and smart features․ Compatibility varies by system type, so verify specifications before installation for optimal performance․
2․1 HVAC System Compatibility
The Honeywell VisionPRO 8000 is compatible with most HVAC systems, including forced air, heat pumps, and radiant heating․ It supports single-stage, two-stage, and multi-stage systems․ Ensure your system meets voltage requirements, typically 24V AC, and verify wiring compatibility․ Some models may require additional configurations for proper operation․ Always check system specifications to ensure seamless integration and avoid installation issues․
2․2 Wi-Fi Network Requirements
The Honeywell VisionPRO 8000 requires a stable 2․4 GHz Wi-Fi network for internet connectivity․ Ensure your router supports WEP, WPA, or WPA2 encryption․ A 5 GHz network is not supported․ Place the thermostat near the router for optimal signal strength․ Verify network compatibility before proceeding with installation to ensure smooth connectivity and remote access functionality․
Pre-Installation Steps
Before installation, ensure you have all necessary tools, verify system compatibility, and observe safety precautions to guarantee a smooth and successful setup process for the thermostat․
3․1 Tools and Materials Needed
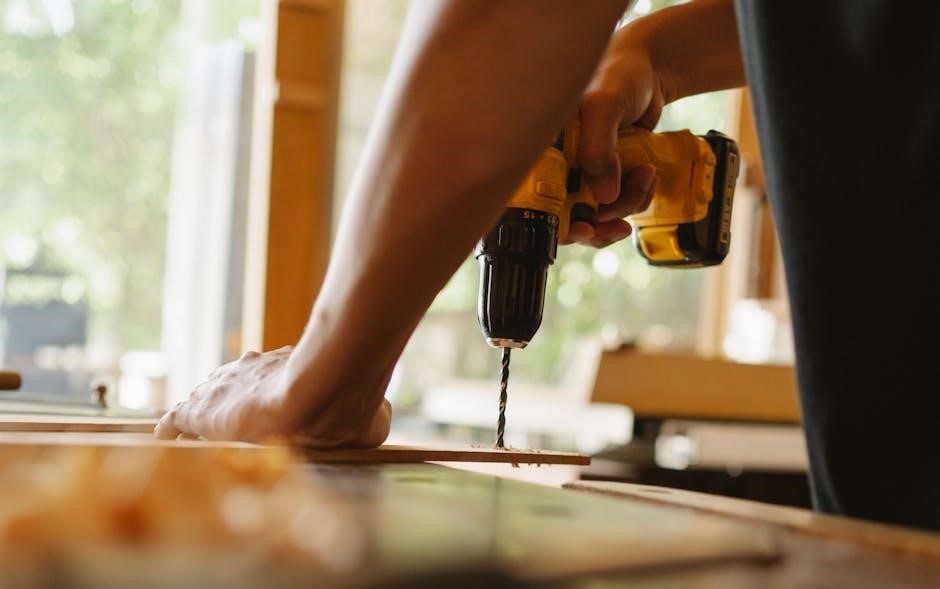
To ensure a smooth installation, gather the necessary tools and materials․ You will need a drill with 3/16″ and 7/32″ bits, wall anchors, a Phillips screwdriver, a flathead screwdriver, wire strippers, a voltage tester, a level, and a pencil․ Having these tools readily available will facilitate the installation process and prevent potential delays or issues during setup․
3․2 Safety Precautions
Always follow safety guidelines to avoid hazards․ Turn off the HVAC system’s power before installation․ Improper installation can lead to system damage or safety risks․ Read the manual carefully and ensure compliance with local regulations․ Installation should be performed by a professional technician to guarantee safety, proper functionality, and adherence to all safety standards for optimal performance and reliability․
Installation Process
Begin by separating the wallplate from the thermostat․ Mount the wallplate, ensuring proper alignment and secure fastening․ Proceed with wiring connections, following the manual’s guidelines carefully․
4․1 Wallplate Installation
Start by separating the wallplate from the thermostat․ Mount the wallplate on the wall, ensuring it is level and securely fastened․ Drill 3/16-inch holes for drywall or 7/32-inch holes for plaster․ Use wall anchors for added stability․ Grasp the top and bottom of the wallplate to remove it from the thermostat before mounting․ Ensure the wallplate is properly aligned and secured to the wall surface․
4․2 Thermostat Mounting and Wiring
Mount the thermostat on the wallplate, ensuring it is level and securely fastened․ Connect the wires to the appropriate terminals, following the wiring diagram in the manual․ Verify compatibility with your HVAC system and ensure proper wiring to avoid malfunctions․ Turn off power to the HVAC system before starting; Use the correct terminals (R, W, Y, G, C, etc․) as specified․ Double-check connections to prevent errors․ Attach the thermostat to the wallplate firmly after wiring is complete․
4․3 Final Connections and Setup
After mounting and wiring, turn the power back on and ensure the thermostat powers up․ Navigate to the menu to configure settings like time, date, and HVAC system type․ Test heating, cooling, and fan modes to ensure proper operation․ Access the Installer Setup for advanced configurations, such as adjusting temperature ranges or enabling IAQ features․ Verify all connections and settings before finalizing the installation․
Programming and Configuration
This section guides you through setting schedules, configuring IAQ settings, and establishing a Wi-Fi network connection for optimal performance and smart home integration for your Honeywell 8000 thermostat․
5․1 Setting Up Schedules
Set custom schedules for your Honeywell 8000 thermostat by accessing the menu, selecting schedule options, and configuring desired temperatures for different times of the day․ Use the arrow buttons to adjust settings and save your preferences for energy efficiency and comfort․ The thermostat allows up to 99 programs, enabling tailored heating and cooling plans for varying daily routines and conditions․
5․2 Configuring IAQ Settings
Configure IAQ settings to optimize indoor air quality by adjusting humidity levels, enabling ventilation cycles, and setting air purification modes․ Access these settings through the menu, navigate with arrow buttons, and save preferences to maintain a healthy indoor environment․ Proper configuration ensures optimal HVAC performance and energy efficiency while enhancing comfort and air quality throughout your space․
5․3 Wi-Fi Network Connection
To connect your Honeywell VisionPRO 8000 thermostat to a Wi-Fi network, navigate to the network settings menu using the arrow buttons․ Select your network from the available list, enter the password, and confirm․ Ensure the thermostat successfully connects to complete the setup․ A stable internet connection is required for remote access and smart features․ Refer to the manual for troubleshooting connectivity issues․
Testing and Verification
After installation, test all system functions including heating, cooling, and fan operations․ Use the Installer System Test to ensure proper functionality and diagnose any potential issues early․
6․1 Running the Installer System Test
Access the Installer System Test via the Installer Setup menu․ Press the menu button, navigate to the Installer Setup, and repeatedly press the next button until “Test” appears․ Use the arrow keys to select and run individual tests for heating, cooling, fan, and emergency heat functions․ Verify each system’s status and operation․ Ensure all components are functioning correctly before finalizing the installation․ This step is crucial for identifying and addressing any issues early, preventing potential malfunctions post-installation․ Proper testing ensures the thermostat and HVAC system operate seamlessly together, providing reliable temperature control and energy efficiency․ Always refer to the manual for specific test procedures tailored to your system type․
6․2 Verifying Heating, Cooling, and Fan Operations
After running the Installer System Test, manually verify heating, cooling, and fan operations․ Set the thermostat to “Heat” and ensure the heating system activates․ Repeat for “Cool” to check cooling functionality․ Test the fan operation by selecting “Fan Only” mode․ Listen for system sounds and check airflow to confirm proper operation․ Ensure smooth transitions between modes to guarantee reliable performance and energy efficiency․
Maintenance and Troubleshooting
Regular maintenance ensures optimal performance of the Honeywell 8000 thermostat․ Clean the display, inspect wiring, and update software․ Troubleshoot common issues like display malfunctions or system errors promptly․
7;1 Routine Maintenance Tips
Regularly clean the Honeywell 8000 thermostat’s display and sensors to ensure accuracy․ Check and tighten all wiring connections․ Replace batteries annually if applicable․ Update firmware via Wi-Fi to access new features and improvements․ Schedule annual HVAC system checks by a professional to maintain optimal performance and prevent potential issues․
7․2 Common Issues and Solutions
Troubleshoot common issues like display malfunctions by resetting the thermostat․ Check wiring connections for loose terminals․ Ensure proper Wi-Fi connectivity for smart features․ If the system fails to heat or cool, verify IAQ settings and HVAC compatibility․ Update firmware regularly to resolve software-related problems․ Refer to the Installer System Test for detailed diagnostic options․
Safety and Compliance
Always follow safety guidelines during installation․ Ensure compliance with local regulations and standards․ Adhere to safety warnings to prevent hazardous conditions․ Proper installation by trained professionals is essential for safe operation․
8․1 Safety Warnings and Precautions
Safety is critical when installing the Honeywell 8000 thermostat․ Always follow the manufacturer’s guidelines to avoid hazards․ Turn off power to the HVAC system before starting work․ Improper installation can lead to system damage or unsafe conditions․ Ensure all wiring is handled correctly to prevent electrical risks․ Keep the area clear of flammable materials during installation․ Adhere to local safety standards and regulations․
8․2 Compliance with Local Regulations
Compliance with local regulations is essential when installing the Honeywell 8000 thermostat․ Always verify and adhere to regional building codes, electrical standards, and safety requirements․ Ensure that the installation meets all necessary permits and inspections․ This guarantees the system operates safely and efficiently, aligning with both manufacturer guidelines and local laws․ Failure to comply can result in legal issues or system malfunctions․
Additional Resources
For further assistance, visit Honeywell’s official website for detailed manuals, troubleshooting guides, and customer support contact information․ Explore online forums and tutorials for additional insights and tips․
9․1 Manufacturer Support and Documentation
Honeywell provides comprehensive support through their official website, offering detailed installation manuals, user guides, and technical specifications for the VisionPRO 8000 thermostat․ Access the INSTALLATION MANUAL and INDUSTRIALE 8000 document for in-depth instructions and troubleshooting․ These resources ensure proper installation, configuration, and maintenance, backed by Honeywell’s dedicated customer support team for any queries or assistance․
9․2 Online Tutorials and Guides
Supplement your installation process with Honeywell’s online tutorials and guides․ The VisionPRO 8000 series offers video tutorials on YouTube and detailed PDF guides, covering installation, programming, and troubleshooting․ These resources provide visual and step-by-step instructions to ensure a smooth setup and operation of your thermostat, catering to both professionals and DIY enthusiasts․